How to Install Jellyfin on Synology NAS Without Headaches
If you want Jellyfin on Synology, you are in the right place. I like Synology boxes. They sit there, sip power, and keep your media safe. But installing a media server can still get weird fast. One permission missed, one port conflict, and you are staring at a blank login page wondering what you did wrong.
This guide walks you through install Jellyfin Synology two ways. Docker is the clean path. A native package can work too, but it tends to feel fragile. I will show you both, then help you set up libraries, hardware acceleration, remote access, and the common fixes people end up searching for at midnight.
Prerequisites and requirements
Before you install anything, check a few basics. It saves you from doing the same steps twice.
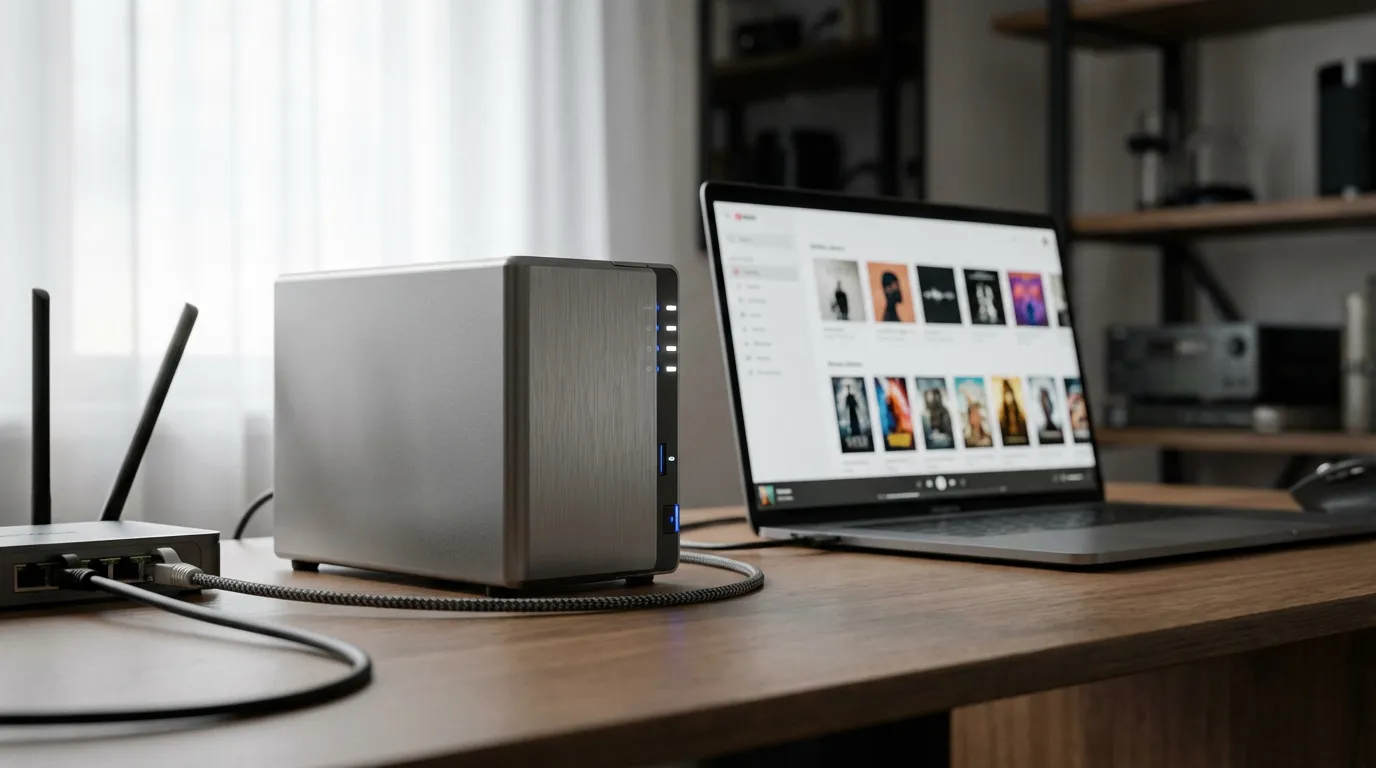
Synology DSM and hardware checklist
You want:
- DSM with Package Center access and admin rights.
- Enough CPU for your use. Direct Play needs little CPU. Transcoding can crush weaker models.
- RAM headroom. Jellyfin runs fine on modest memory, but metadata scans and thumbnails can spike use.
- Storage space for metadata. Posters, images, and chapter previews add up.
Network and naming basics
Give your NAS a stable local IP via your router DHCP reservation. If your IP changes, remote access and apps will break in a way that feels personal.
Media folder structure
Create shared folders such as:
- /volume1/Media/Movies
- /volume1/Media/TV
- /volume1/Media/Music
Keep names consistent. Jellyfin does fine with messy libraries, but you will spend more time fixing matches.
Permissions you should plan for
Decide how Jellyfin will access your files.
- Docker route. You map folders into the container. You must align container user IDs with Synology permissions.
- Native route. Jellyfin runs as a system user. You grant that user read access to your media shares.
Installation method #1 Docker recommended
If you want synology jellyfin to stay tidy, Docker is the move. Updates stay contained. Dependencies do not spill into DSM. If you ever want to reset, you remove the container and keep your media untouched.
If you like step-by-step Docker Compose, keep this guide bookmarked: install Jellyfin with Docker Compose. I am still going to show the Synology-friendly version here.
Install Container Manager or Docker
On DSM, open Package Center.
- Install Container Manager if your DSM shows it.
- Older DSM versions may show Docker instead.
Create folders for Jellyfin config and cache
Create a shared folder like docker, then inside it:
- /volume1/docker/jellyfin/config
- /volume1/docker/jellyfin/cache
This keeps your Jellyfin database safe even if you rebuild the container.
Pick a container image
In Container Manager, open Registry and search for jellyfin. The standard choice is the official Jellyfin image. Pull it.
Create the container with correct ports and volumes
Create a container and set:
- Network: bridge is fine for most setups.
- Ports: map container port 8096 to a host port like 8096.
- Volumes:
- /config to /volume1/docker/jellyfin/config
- /cache to /volume1/docker/jellyfin/cache
- /media to /volume1/Media (or map Movies and TV separately)
Set PUID and PGID so permissions do not bite you
This is where many installs go sideways. Your container needs to read your Synology shared folders. The clean approach is to create a dedicated DSM user like jellyfin, grant it read access to your Media share, then run the container as that user.
In the container environment variables, set:
- PUID to the user ID of your jellyfin DSM user
- PGID to the group ID (often the users group)
Synology does not make these IDs obvious in the UI. If you do not want to chase IDs, a workaround is to grant read access to the shared folder for the user the container runs as. I do not love that. I prefer clear ownership, even if it takes longer.
Start Jellyfin and open the web UI
Start the container, then open:
http://NAS-IP:8096
If that loads, you are past the hardest part.
Installation method #2 Native package
You can install Jellyfin without Docker. I have mixed feelings about it. It can feel faster, but updates and dependencies can turn into a chore. Still, if your Synology model does not support Docker, this path exists.
Install from Package Center if available
Check Package Center for Jellyfin. Some DSM setups show community packages, some do not. If you see it, install it and skip ahead to initial setup.
Manual package install approach
If you have a .spk from a trusted source, you can use Manual Install in Package Center. After install, Jellyfin typically runs on port 8096.
Grant Jellyfin access to your media shares
Go to Control Panel then Shared Folder, pick your Media share, then Edit and set permissions. Find the Jellyfin service user and grant read access. Without this, Jellyfin will see empty folders and act like you are the problem.
Initial Jellyfin setup
The first-run wizard is quick, but a few choices matter.
Create your admin user and lock it down
Create an admin account with a strong password. If you plan remote access, do not leave admin as a blank password or a joke password. People run scanners all day. You do not need that stress.
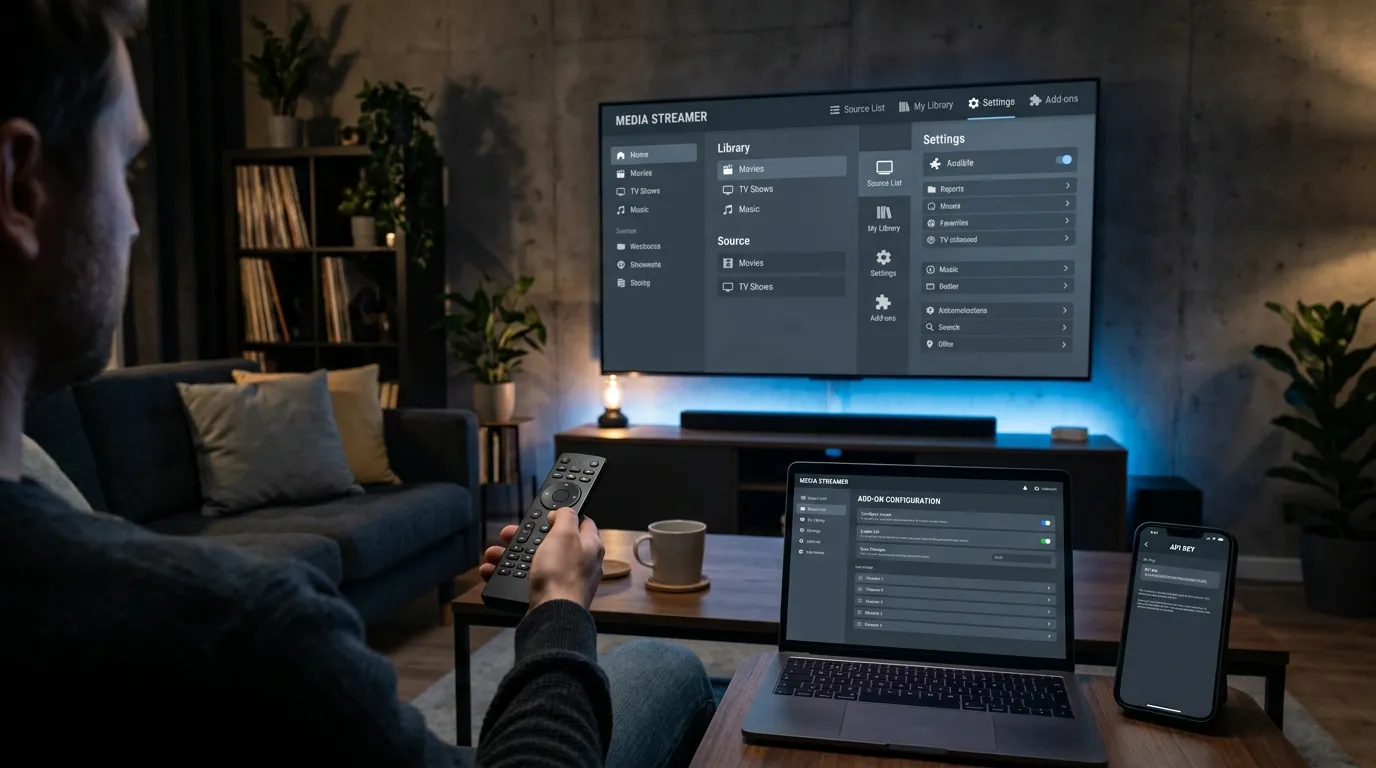
Add libraries the right way
In Jellyfin, go to Dashboard then Libraries then add:
- Movies pointed to your Movies folder
- Shows pointed to your TV folder
- Music pointed to your Music folder if you use it
Choose your metadata language and country. This affects titles, posters, and ratings.
Set transcoding and playback defaults
Go to Dashboard then Playback. If your clients can Direct Play, you want that. Transcoding is the fast path to a loud NAS fan and a grumpy household.
If you want a deeper guide on limiting transcoding pain, this one helps: disable Jellyfin transcoding and tune playback.
Add prerolls for a cinema vibe
If you run Jellyfin, you probably care about presentation. Prerolls are the fun part. Set up Jellyfin cinema mode prerolls, then pick intros that match your library mood. Start here: Jellyfin prerolls cinema mode setup.
If you want ready-made Jellyfin intros, browse the collection at Jellyfin preroll videos.
Optimization for Synology
Synology NAS boxes can run Jellyfin well, but they hate waste. These tweaks help you keep the system quiet and responsive.
Hardware acceleration and why it matters
If your NAS supports hardware transcoding, turn it on. If it does not, accept it and push Direct Play harder. Hardware transcoding can mean the difference between one stream and several. It also means your NAS stops feeling like it is trying to cook itself.
In Jellyfin, check Dashboard then Playback then Transcoding and look for hardware acceleration options. What you see depends on your CPU and container setup.
Keep metadata and cache on fast storage if you can
If your Synology has SSD cache or an SSD volume, placing Jellyfin config and cache there helps. Poster loading and library browsing feel snappier. It is not magic, but it is noticeable.
Thumbnail generation can punish your NAS
Chapter images and preview thumbnails look nice. They can also churn CPU for hours and fill storage. If your NAS is modest, reduce or disable the features that generate tons of images. Your future self will thank you.
Schedule library scans with intention
If you dump media in batches, schedule scans during off-hours. Constant scanning is like having someone tap you on the shoulder all day. The NAS will do it, but it will feel slower for everything else.
Remote access setup
Remote access is where people get brave. Then they get nervous. You should be a bit nervous. Exposing services to the internet is serious.
Choose your remote access approach
- VPN to your home network. This is the calm option. Your NAS stays private.
- Reverse proxy with HTTPS. This is clean when done right. More setup.
- Port forwarding. Fast, but it invites more risk and more scanning traffic.
Basic port forwarding for Jellyfin
If you go the port forwarding route:
- Forward a router port to your NAS port 8096.
- Use a strong Jellyfin admin password.
- Consider changing the external port to something non-obvious.
I do not love plain HTTP exposed to the internet. If you do this, at least move to HTTPS via reverse proxy.
Follow a dedicated remote access walkthrough
Remote access deserves its own checklist. Use this guide and do not skip the security parts: Jellyfin remote access setup and troubleshooting.
Troubleshooting
These are the problems I see over and over with jellyfin synology installs. Most fixes come down to permissions, ports, or transcoding settings.
Jellyfin web UI does not load
- Confirm the container or service is running.
- Check you are using http://NAS-IP:8096.
- Check port mapping in Docker. Host port must map to container 8096.
- Check Synology firewall rules if enabled.
Libraries show empty folders
- Permissions are wrong. Fix share permissions for the Jellyfin user or container user ID.
- In Docker, confirm your volume mapping points to the folder that actually contains media.
- Test by browsing the mapped path inside Jellyfin when adding a library.
Playback stutters or buffers
- Check if the client is transcoding. If yes, ask why. Codec support, subtitle burn-in, bitrate limits can trigger it.
- Try disabling transcoding for a test user to force Direct Play. If playback becomes smooth, your NAS CPU was the bottleneck.
- Wired Ethernet beats Wi-Fi. This sounds boring, but it fixes a lot.
Hardware acceleration does not show up
- Your NAS CPU may not support it.
- Your container may need device mappings for the GPU or video engine.
- You may need to switch transcoding settings inside Jellyfin after the container starts.
Subtitles cause transcoding
Image-based subtitles like PGS can trigger burn-in. That forces a transcode. If your NAS struggles, prefer text subtitles like SRT when you can. I hate that this is true, because PGS looks clean, but your CPU does not care about your aesthetic.
Jellyfin vs Plex on Synology
People ask this because they want one answer. I cannot give you one answer. It depends on how you watch.
| Category | Jellyfin on Synology | Plex on Synology |
|---|---|---|
| Cost | Free for core features | Free tier exists, paid tier unlocks more |
| Setup feel | More hands-on, more control | Smoother onboarding, fewer knobs |
| Remote access | You manage it, which can be stressful | Often easier, depends on your network |
| Privacy and control | High control, self-managed | More account ecosystem involved |
I keep coming back to Jellyfin because it feels like your server. Plex can feel smoother, and I respect that. If your household wants easy apps and fewer settings, Plex can win. If you want control and you do not mind doing your own remote access work, Jellyfin feels satisfying.
If you want a side-by-side view across media servers, use this page: media server comparison guide.
FAQ
Is Docker on Synology worth it for Jellyfin
Yes. Docker keeps Jellyfin contained and makes upgrades less scary. If your NAS supports Docker, I would not install Jellyfin any other way unless you have a strong reason.
What port does Jellyfin use on Synology
Jellyfin uses 8096 for HTTP by default. If you enable HTTPS inside Jellyfin, it can use 8920. In Docker, you control the host port mapping, so you can map to a different external port if you want.
Where should I store Jellyfin config on Synology
Store it outside the container in a dedicated folder like /volume1/docker/jellyfin/config. That way, your database and settings survive container rebuilds.
Can a Synology NAS handle 4K transcoding with Jellyfin
Sometimes. Direct Play is the safer plan for 4K. If your NAS has hardware acceleration support and your container setup exposes it correctly, you can get workable 4K transcoding. If you rely on CPU transcoding, many models will struggle.
How do I add prerolls in Jellyfin
Enable cinema mode, then point Jellyfin to your preroll files. If you want a walkthrough and some ideas for intros, start with setting up Jellyfin prerolls in cinema mode and browse options at Jellyfin preroll videos.
What is the safest way to do remote access
A VPN is the calm route. If you want a public URL, set up a reverse proxy with HTTPS and strong passwords. If you port forward, accept that you are inviting attention from scanners and you need to stay on top of updates.
If you get stuck on a weird Synology permission edge case, take a breath and work backward. Is the service running. Is the port open. Can Jellyfin read the folder. Those three checks solve most install failures for install jellyfin synology without turning it into a weekend project.