Jellyfin Live TV and DVR Setup Guide for Tuners and EPG
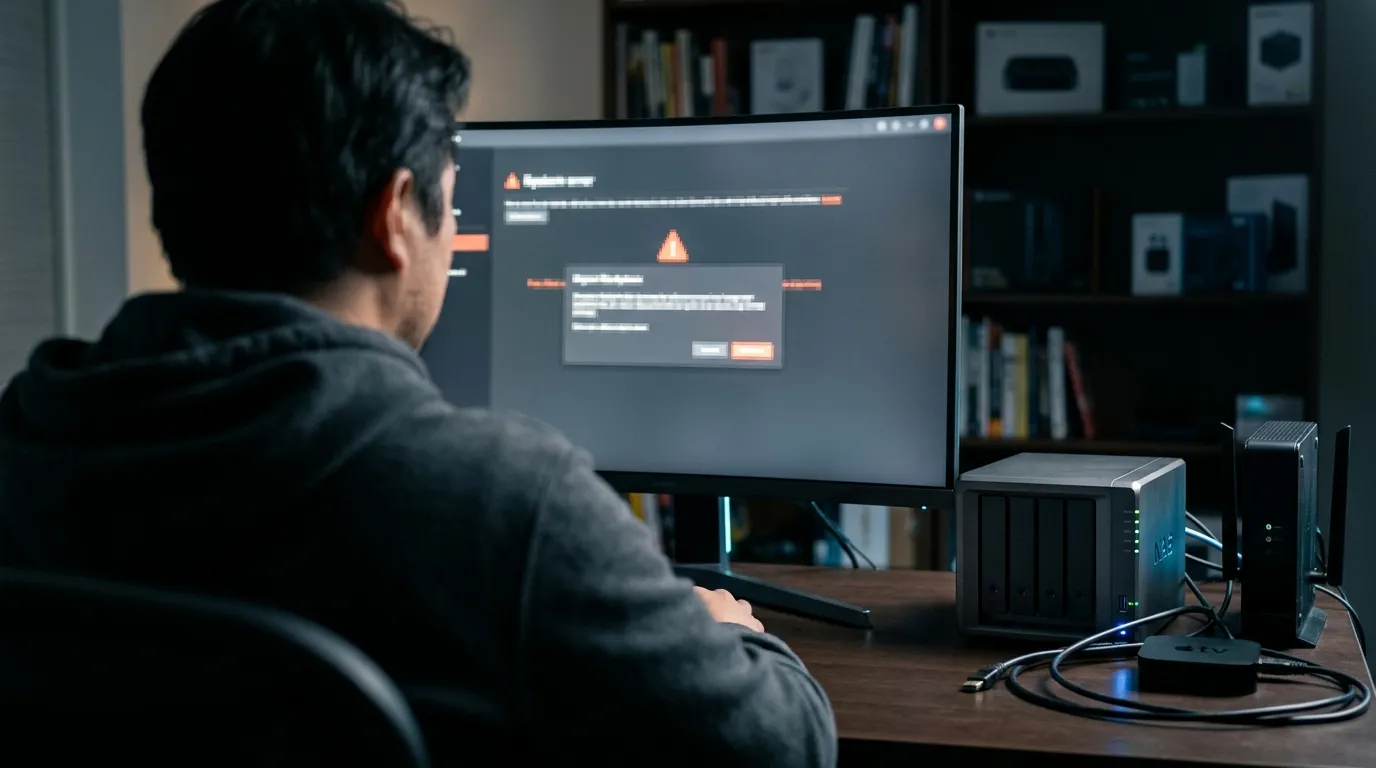
Live TV inside Jellyfin feels a little like getting away with something. You already run your own library. Then you plug in an antenna, add a tuner, and suddenly your server turns into a full TV hub with recordings, series rules, and a guide grid. It can feel smooth when it works, and frustrating when one small detail breaks the whole chain. This guide keeps the chain intact.
You will set up Live TV and DVR in Jellyfin using an HDHomeRun network tuner or another supported tuner. You will connect an EPG guide source, map channels, choose recording quality, and lock down storage so recordings do not vanish into a mystery folder. I will also call out the pitfalls I see people hit, because Live TV problems tend to look random when they are not.
What you need before you start
Jellyfin Live TV has three moving parts. If you keep them separate in your head, troubleshooting gets calmer.
- A signal source. OTA antenna, clear QAM (rare now), or IPTV. This guide focuses on OTA with a tuner.
- A tuner. HDHomeRun network tuners, some USB tuners, and software backends.
- Guide data. EPG data so the guide grid shows what is on and so recordings know what to target.
Also check these basics before you touch settings.
- A working antenna feed with stable reception. If your TV struggles, Jellyfin will struggle too.
- Your Jellyfin server and tuner on the same network segment, or at least routable with no blocked discovery traffic.
- A storage location with enough free space for recordings. OTA MPEG-2 can eat space fast.
- Admin access to Jellyfin Dashboard.
Choosing the right tuner setup for your home
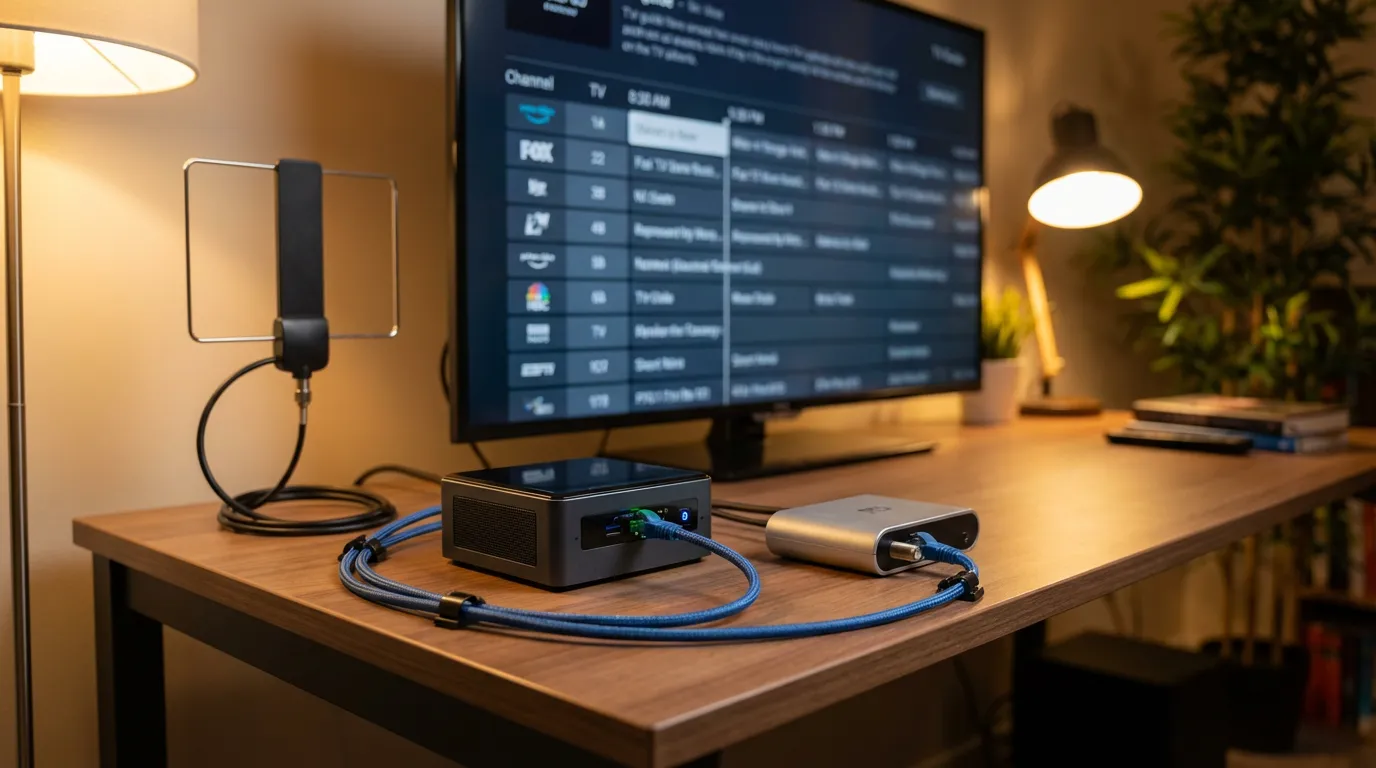
If you want the least drama, pick a network tuner. I keep coming back to HDHomeRun because it behaves like a polite appliance. It sits on Ethernet, it does its job, and Jellyfin can talk to it without cable gymnastics.
HDHomeRun network tuners
HDHomeRun devices expose channels over your LAN. Jellyfin detects them through discovery or you can point Jellyfin to the tuner’s IP. This setup works well when your Jellyfin server runs in Docker, on a NAS, or on a headless box where USB passthrough can get messy.
USB tuners
USB tuners can work, but the experience depends on your OS, drivers, and how Jellyfin accesses the device. If your server runs in a container, you may need device passthrough. If you do not enjoy debugging permissions at midnight, you may prefer a network tuner.
Backend software options
Some people route tuners through a backend like Tvheadend. That can help when you need advanced tuning, channel filtering, or unusual hardware. It adds a layer, which means more knobs and more ways to misconfigure things. If you want simple, go direct with HDHomeRun when you can.
Preparing your antenna and channel lineup
This part feels boring until it ruins your weekend. You need a clean channel lineup before EPG mapping feels sane.
Confirm reception and scan channels
Do a channel scan in the tuner’s own interface or app first. If the tuner does not find channels reliably, Jellyfin will not rescue it. Aim for stable signal quality, not just “it shows a picture.” Marginal reception turns into failed recordings and pixel blocks at the worst moment.
Trim the lineup early
If your tuner finds duplicates, shopping channels, or weak stations you do not care about, disable them in the tuner interface if possible. It makes guide mapping cleaner. A messy lineup multiplies your confusion later because you end up mapping guide data to the wrong variant of a channel.
Adding your tuner to Jellyfin Live TV
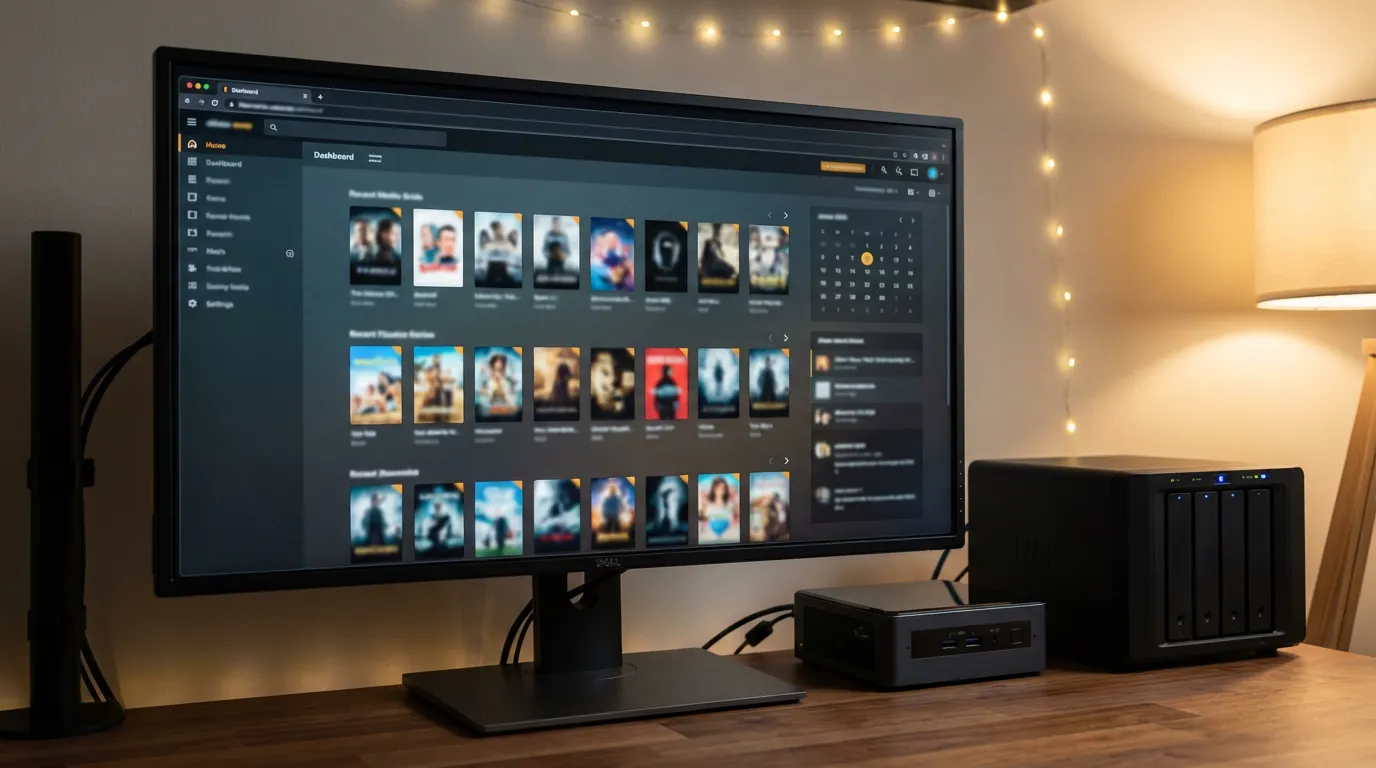
Open Jellyfin as an admin and go to the Dashboard.
- Go to Live TV.
- Find Tuners and add a tuner device.
- Select the tuner type that matches your hardware.
Adding an HDHomeRun tuner
In many cases Jellyfin finds the HDHomeRun automatically. If it does not, add it manually.
- Use the tuner’s IP address or device URL as Jellyfin requests.
- Make sure the Jellyfin server can reach the tuner over HTTP on your LAN.
If detection fails, do not guess. Find the tuner IP in your router’s client list, then test reachability from the server network. Discovery can fail even when the tuner works fine.
Confirm channel import
After adding the tuner, Jellyfin should pull in a channel list. Check that the channel count makes sense. If you see zero channels, the tuner connection is not working or the tuner has no scanned lineup.
EPG guide data options and what they mean
Live TV without guide data feels like cable in the dark. You can still tune channels, but recording rules become guesswork. Guide data is where the setup can feel oddly emotional. When it works, you forget it exists. When it breaks, you stare at an empty grid like it insulted you.
Jellyfin supports guide data through compatible sources and formats, including XMLTV. Your goal is simple. Get a guide source that matches your region and lineup, then map guide channels to tuner channels inside Jellyfin.
Using XMLTV
XMLTV is the common bridge format. Many guide providers and tools output XMLTV. Jellyfin reads the XML file or URL, then presents channels for mapping.
Guide data from a tuner ecosystem
Some tuner ecosystems can provide guide data through their own services or apps. Whether that fits your setup depends on your hardware and your preferences. If you want Jellyfin to stay in control, XMLTV tends to keep things predictable.
Adding EPG to Jellyfin and mapping channels
Go back to Jellyfin Dashboard and open Live TV settings for guide data.
Add the guide data source
- In Live TV, find the section for Guide Data Providers.
- Add a provider such as XMLTV.
- Enter the file path or URL to your XMLTV data.
- Save and refresh guide data.
If your XMLTV file lives on the server, make sure Jellyfin can read it. In Docker, this means the file must exist inside the container through a mounted volume. I have seen people point Jellyfin at a path that only exists on the host. Jellyfin cannot read what it cannot see.
Map channels carefully
Channel mapping decides what program data shows on each tuner channel. This step matters more than people think. A single mismatch can lead to recordings that capture the wrong show on the right channel, which feels like the universe pranking you.
- Open Live TV then Channels or Channel Mapping.
- For each tuner channel, pick the matching guide channel.
- Save mappings and refresh the guide.
When channels have multiple versions like “5.1” and “5.2,” confirm the callsign and the content, not the number. Subchannels can confuse guide providers. If the guide data does not include a subchannel, you may need a different lineup source from your guide provider.
Validate the guide grid
Open the Live TV guide in the Jellyfin client and spot check.
- Do channel names match what you expect?
- Do time slots show programs for the next day?
- Do start times look aligned with your local time zone?
If the guide is shifted by hours, check the server time zone and the guide source time zone behavior. Time drift causes recordings to start late, which is a special kind of pain.
Setting up DVR recording storage and options
DVR setup is where you decide if your server feels like a reliable appliance or a hobby that demands attention.
Pick a recording folder you can manage
In Live TV settings, set the recording path to a dedicated folder. Do not bury it in a random system directory. You want something like a “Recordings” share with clear permissions.
Make sure your Jellyfin process can write to it. On Linux, this often means ownership and permissions on the folder. In Docker, it means mapping the folder into the container and matching UID and GID if your container uses them.
Decide on recording quality and transcoding behavior
Many OTA channels come in MPEG-2. Jellyfin can record the raw stream. That keeps quality intact but can produce large files. You can also set up post-processing with external tools if you want smaller files, but that adds complexity.
If your devices struggle to play raw OTA streams, you may rely on transcoding during playback. That shifts load to your server CPU or GPU. If you want guidance on hardware planning, I keep a similar mindset as in Plex builds. You can apply the same logic to Jellyfin servers. Your bottleneck will show up fast when someone starts watching a live channel while a recording runs.
Set padding for recordings
Broadcast schedules slip. Sports run long. Networks start a show a minute early for no reason other than chaos. Add start and end padding if Jellyfin offers it in your build. Even a small buffer reduces the heartbreak of missing the last scene.
Scheduling recordings that do not fail silently
Once the guide looks right, test recordings in a deliberate way.
Test with a short recording
- Pick a channel with strong reception.
- Record a program that starts soon.
- While it records, try tuning another channel on another client if you have multiple tuners.
Then check the file on disk. Confirm it plays in Jellyfin, and confirm it plays outside Jellyfin too. If the file is corrupt, the issue is usually reception, tuner stability, or disk writes.
Set up series recordings with realistic expectations
Series rules depend on guide data consistency. Some channels label episodes poorly. Some guide sources mis-tag reruns. Jellyfin can only act on what it gets. If your series rule records too much or too little, it is not always Jellyfin’s fault. That said, you can often improve it by mapping the right channel variant and making sure your guide provider lineup matches your exact market.
Common Live TV problems and how to fix them
When Live TV breaks, it tends to break in ways that feel spooky. The fix is usually plain.
No tuner found
- Confirm the tuner has an IP address and responds on your network.
- Check Docker networking. Host networking can help discovery for some setups.
- Try manual tuner configuration instead of auto-detect.
Channels show but the guide is empty
- Confirm the guide source refresh succeeded.
- Confirm Jellyfin can read the XMLTV file path you provided.
- Check channel mapping. Unmapped channels show no data.
Guide data is offset in time
- Check server time zone settings.
- Check the container time zone if you run Docker.
- Refresh guide data after fixing time settings.
Recordings fail or stop early
- Check tuner signal quality. Weak reception causes stream drops.
- Check disk space and write permissions.
- Add end padding for schedule drift.
Live TV buffers or stutters
- Prefer wired Ethernet for tuner and server if you can.
- Check server transcoding load. Live transcoding can slam a CPU.
- Test direct play on a capable client device.
Recommended settings and habits for a stable DVR
I like setups that feel boring after the initial work. Boring is the goal. Here are habits that keep Live TV stable.
Keep guide refresh predictable
Set a refresh schedule that matches your guide provider and your server uptime. If the refresh fails, you want to notice before your guide grid empties out.
Use a dedicated recordings library
Add your recordings folder to Jellyfin as a library if you want more control over metadata and playback behavior. It also makes it easier to audit what recorded and what did not. You can still use the Live TV recordings view. A library view gives you another angle when you troubleshoot.
Protect your recording storage
Recordings are large and temporary by nature. That makes them easy to lose. If you care about a show, back it up or move it into your main TV library. Otherwise you will eventually delete it by accident while cleaning space.
Live TV on clients and what playback feels like
Live TV playback depends on your client device. Some clients direct play OTA streams with no fuss. Others force transcoding. If your server struggles, your experience turns into buffering and frustration.
If you run Jellyfin on a small box, pick client devices that can decode common broadcast formats. If you want a living room device that handles a lot of formats well, I would compare what people do with devices like Shield-style streamers. It is not magic. It just cuts down transcoding.
Make it feel like a home theater with prerolls
Once Live TV and DVR work, you might want the rest of the experience to match the vibe. Jellyfin can feel clinical by default. If you like a cinema-style intro before movies, you can add prerolls and theme customizations. I have mixed feelings about how much time people sink into cosmetics, but I also get it. When your server feels personal, you use it more.
If you want to add cinema mode intros, this guide on setting up Jellyfin prerolls and cinema mode walks you through the practical steps. If you want to browse ready-made intros that fit Jellyfin, you can scan the preroll browsing library and pick a style that matches your setup.
Quick reference setup checklist
If you want a tight list to follow, use this. It keeps you from looping back and forth.
| Step | What you check | What success looks like |
|---|---|---|
| Antenna and tuner scan | Tuner finds channels and plays them in its own app | Stable picture on key stations |
| Add tuner in Jellyfin | Jellyfin imports channel list | Channels appear in Live TV |
| Add guide data provider | XMLTV path or URL is reachable by Jellyfin | Guide refresh completes |
| Channel mapping | Match tuner channels to guide channels | Guide grid shows program names |
| DVR storage | Recording folder permissions and free space | Test recording creates a playable file |
When you should change your approach
If you keep getting unstable recordings even after you fix signal and storage, consider changing one big variable instead of tweaking ten small ones.
- If USB tuner drivers keep breaking, switch to a network tuner.
- If guide data mismatches your market, switch lineups or switch guide source format.
- If your server transcodes live streams and chokes, change client devices or add hardware acceleration support.
That last one can feel annoying because it costs money or time. Still, it beats living with a DVR you do not trust.
Where to go next in your Jellyfin setup
If you run Jellyfin in Docker, keep your setup tidy. It prevents weird path issues with XMLTV files and recording folders. This walkthrough for installing Jellyfin with Docker Compose can help you keep volumes and permissions under control.
Once Live TV, guide data, and DVR storage behave, you get the fun part. You stop thinking about it. You open the guide, pick a channel, hit record, and trust that it will be there later. That trust is the whole point.